No products in the basket.
T-Shirt Guide
How To Cut A T-Shirt: Easy Steps For Stylish Customization
Loving do-it-yourself projects, I frequently find myself with a closet full of used t-shirts I no longer wear. One day, I pondered how to trim a t-shirt to give it a modern, fashionable look while fixating on one especially antiquated one. Finding the proper approach to change it without destroying it presented difficulty. I knew cutting a t-shirt would be a great approach to revitalize my wardrobe, but I needed some direction to prevent making it unwearable. This motivated me to explore several cutting techniques and am eager to share what I discovered to enable you to handle your own t-shirt makeover!
Preparing For The Cut
I discovered before I started cutting my t-shirts that the finest results depend on preparation. This entails selecting the appropriate clothing with great attention and compiling the required instruments.
Choosing The Right T-Shirt
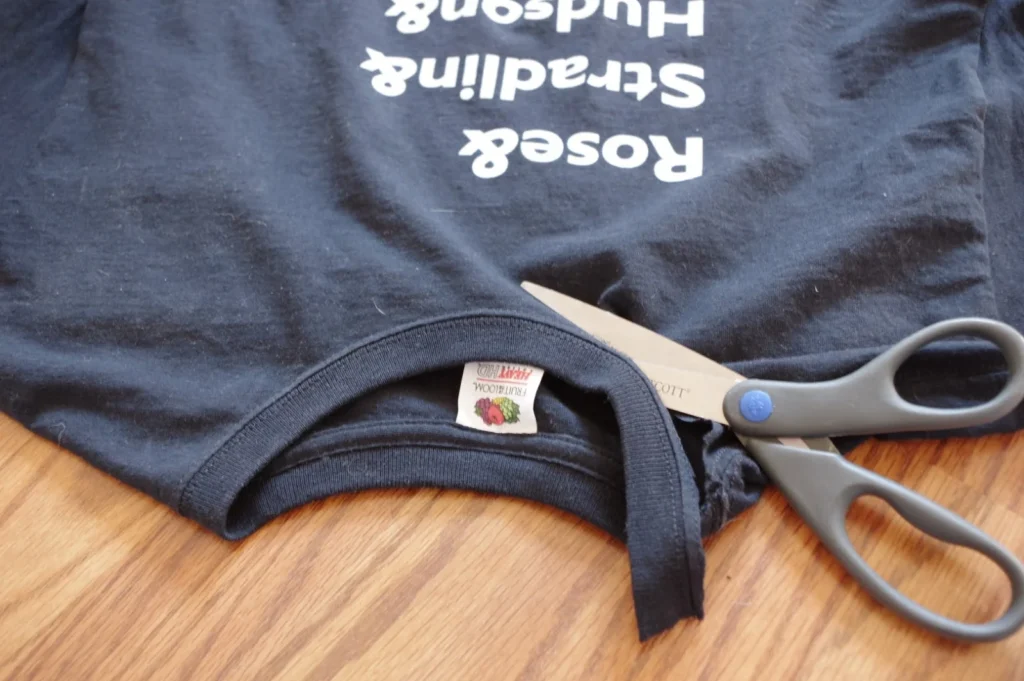
When choosing a t-shirt to cut, I give several key considerations top importance. I start first looking for t-shirts composed of soft, flexible materials such as cotton or cotton mixes. These fabrics drape well when worn in addition to being simple cutters. Generally speaking, I avoid thicker or stiffer materials since they can be difficult to cut and may not hang well following a transformation.
I also pay attention to the style of the t-shirt. Basic crew necks or relaxed-fit tees work best for me because they offer a blank canvas for creativity. Vintage or oversized t-shirts are also fantastic options; their larger size gives me more fabric to work with and allows for bolder cuts. Ultimately, I try to choose t-shirts that I won’t miss if my cutting experiment doesn’t go as planned.
Gathering Tools And Materials
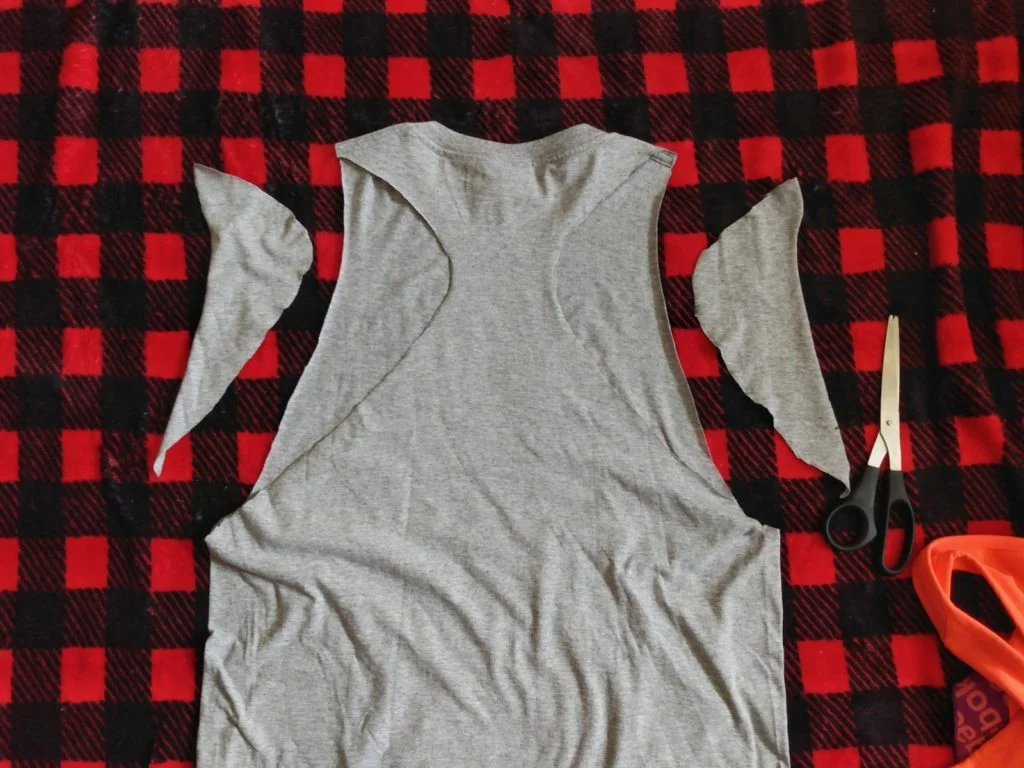
A neat cut depends on having the correct instruments. One of my most important tools is a sharp pair of fabric scissors; they really make all the difference. I always start with a sharp blade since dull scissors can produce jagged edges and a sloppy finish.
I next indicate where I intend to cut with a fabric marker or chalk. This aids in my visualizing of the design prior to any permanent cuts. Particularly if I’m trying for certain lengths or designs, a ruler or measuring tape is also helpful to guarantee my cuts are straight and equal.
I also maintain a level surface to operate on, which facilitates more cutting stability. Having these tools on hand not only accelerates the process but also guarantees that I will avoid errors, thereby enabling me to enjoy the creative process free from pressure.
Basic Cutting Techniques
Once I’ve chosen the right t-shirt and gathered my tools, I can dive into the fun part: cutting! Here are some basic techniques I use to create casual looks and unique designs.
Cutting For A Casual Look
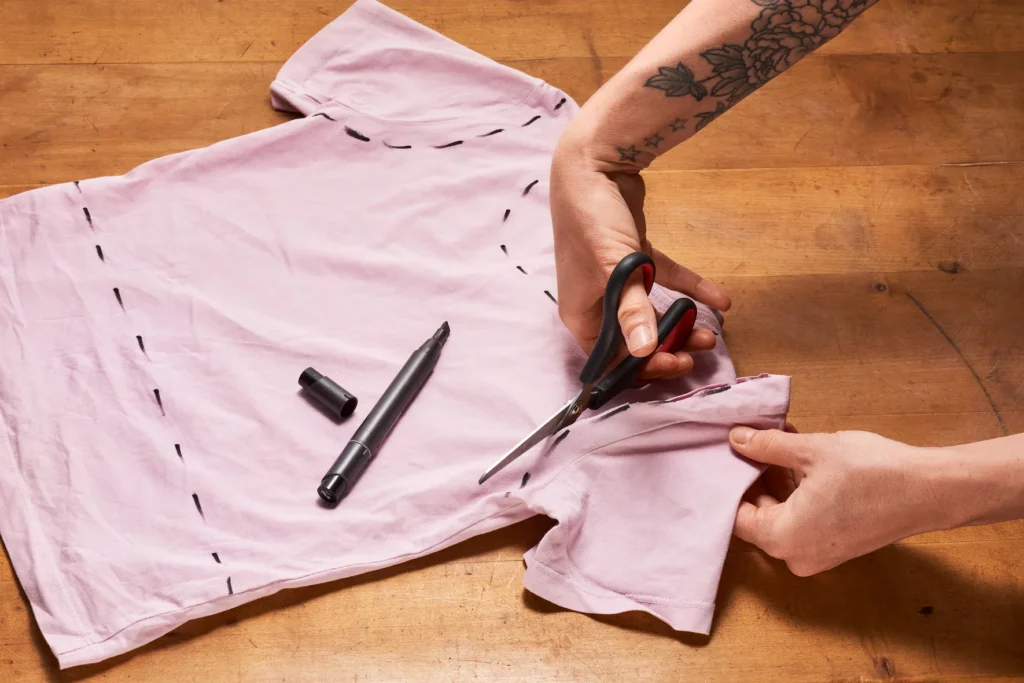
One of my favorite transformations is turning an old t-shirt into a simple crop top or an off-the-shoulder look. Here’s how I do it:
- Try It On: First, I put on the t-shirt to gauge how much I want to cut. This helps me visualize the length for a crop top or how loose I want it for an off-the-shoulder style.
- Mark the Cut: Mark where I intend to cut with a fabric marker. Usually, I go for a crop top around three to four inches above the waistline. To get an off-the-shoulder view, I mark a curving line from one shoulder to the other making sure it fits comfortably.
- Cut Carefully: With my fabric scissors, I follow my marked line. I take my time, cutting slowly to avoid jagged edges.
- Finishing Touches: After cutting, I sometimes stretch the fabric slightly to give it a more relaxed look. If I want a distressed finish, I can lightly pull at the edges to create a frayed effect.
A personal tip I’ve learned is to start with a smaller cut first. It’s easier to trim more off later than to fix a mistake from cutting too much at once!
Creating Unique Designs
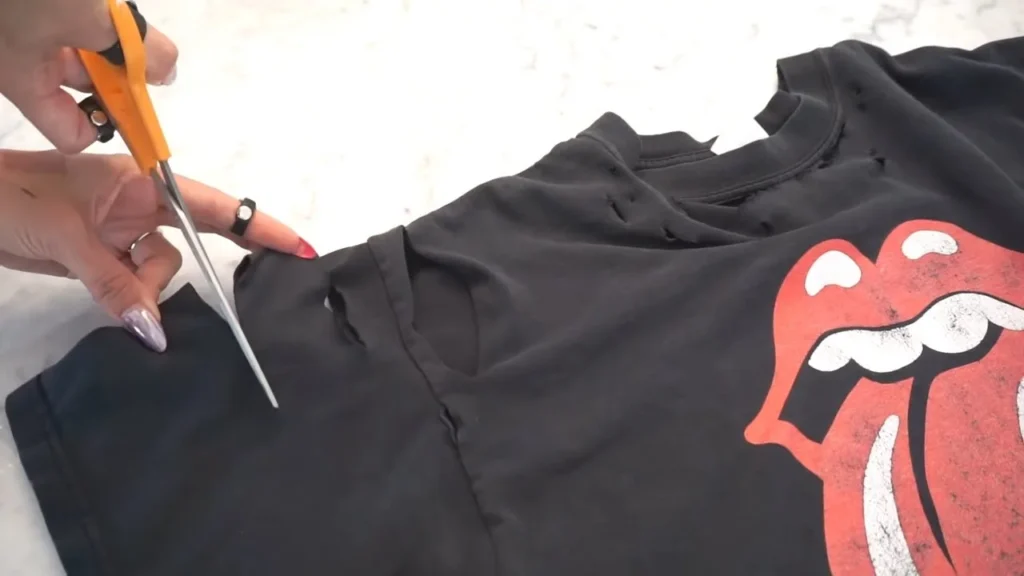
I love getting creative with unique designs, and there are countless techniques I’ve experimented with. One of my favorites is adding fringe. Here’s how I do it:
- Mark the Fringe: I decide how long I want the fringe to be—usually about 4 to 6 inches. I then mark vertical lines on the bottom hem of the t-shirt, about 1 inch apart.
- Cutting the Fringe: I carefully cut along the marked lines, making sure not to cut all the way through the t-shirt. This leaves a strip of fabric at the top to hold everything together.
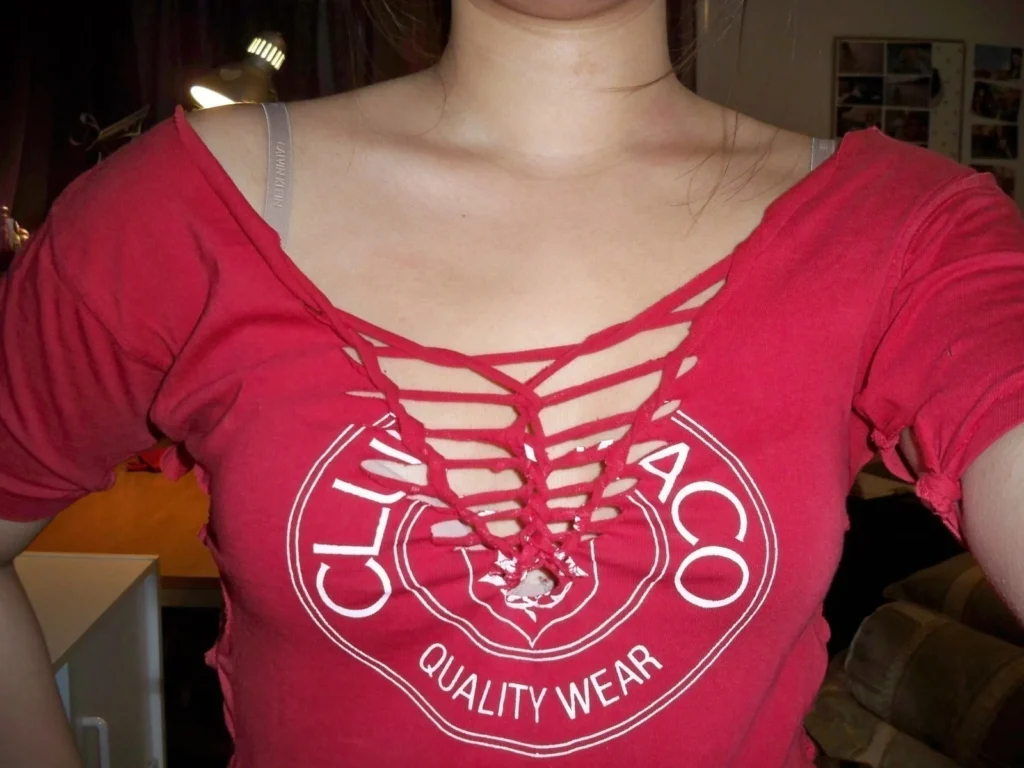
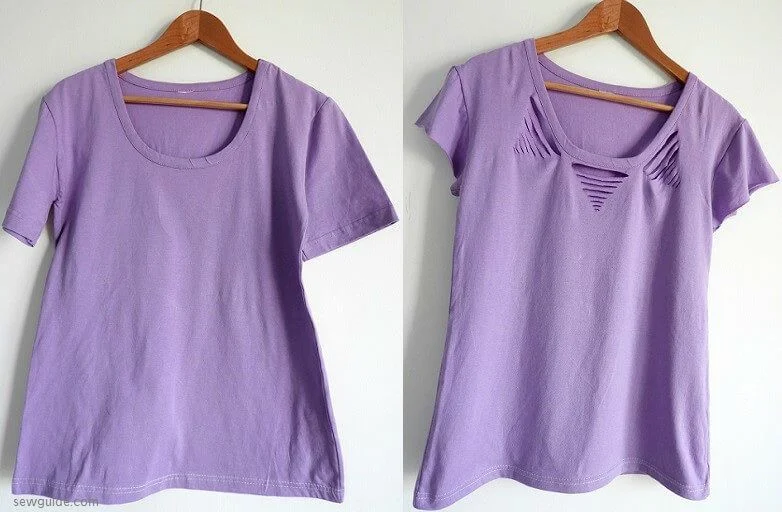
- Experimenting with Patterns: I’ve also tried cutting out shapes or patterns. For instance, I sometimes cut small triangles out of the neckline or sleeves to add a playful touch.
Through these experiments, I’ve learned that some styles work better than others. The fringe has always turned out well, but I’ve had mixed results with more intricate designs. The key is to embrace the process and have fun with it!
Tips For Perfecting Your Cut
Having experimented with cutting t-shirts, I have some great advice to guarantee consistently great outcomes. I now know the following about avoiding typical errors and including those last touches.
Avoiding Common Mistakes
Not measuring correctly before cutting is among the biggest errors I have ever committed. Early on, I frequently calculated where to cut, which resulted in designs and unequal lengths that didn’t exactly seem right. I now always spends some time marking and measuring my cuts with a fabric marker. Using a ruler makes that my lines are straight and that both sides of the t-shirt match.
Another error I have come across is rushing out of excitement. I now know the hard way that haste could cause too deep cuts or sharp edges. I tell myself to slow down and see the end product before cutting. Seeing how the t-shirt hangs guides me on whether or not I should change my cut.
Finishing Touches
Once my cuts are done, I enjoy adding some last details to further personalize my creations. Adding patches or fabric paint would be one of my favorite embellishments. These give a special touch and help a basic cut to stand out. I regularly come across interesting patches reflecting my hobbies or personality.
Another technique I enjoy is using fabric dye or bleach to create patterns or gradients on the cut edges. This adds an artistic element and can make even the most basic t-shirt feel special.
I also like to play around with layering. For instance, I might wear a cropped t-shirt over a long-sleeve tee for a trendy look. These finishing touches not only elevate my t-shirts but also make them feel uniquely mine!’
FAQs About How To Cut A T Shirt
What Tools Do I Need To Cut A T-Shirt?
To cut a t-shirt, you’ll need a sharp pair of fabric scissors, a fabric marker or chalk for marking your cuts, and a ruler or measuring tape for precise measurements. Having a flat, stable surface to work on is also important for clean, even cuts.
Could I Cut Any Kind Of T-Shirt?
Although most t-shirts can be cut, you would want to select ones composed of soft, flexible materials such as cotton or cotton mixes. Thicker or stiffer textiles could not drape nicely after cutting and might not cut as readily. Starting with simple looks, such as crew necks or baggy shirts, is advised.
How Can I Guarantee Evenness Of My Cuts?
Measure and mark where you want to cut before actually cutting to guarantee even cuts. One can get straight lines by running a ruler. To see how it will appear worn and to make sure both sides match, I also advise periodically lifting the shirt while cutting.
Conclusion
Learning how to cut a t-shirt has, at last, opened a universe of artistic possibilities for me. Whether I’m adding distinctive fringe elements or turning an old shirt into a hip crop top, the process has evolved into a fun approach to outfit personalizing. I feel secure tackling every t-shirt project that comes my way by selecting the appropriate shirt, getting ready correctly, and using the procedures I have discussed.
If you’re looking for more visual guidance on cutting t-shirts, I highly recommend checking out this video:

I am Estelle Krattinger, a multi-talented creative artist from Paris, France. Known for my captivating photography and enchanting storytelling, I have garnered a dedicated following on Instagram, where I share glimpses of my artistic journey and creative pursuits. With an impeccable eye for detail and a passion for exploring the beauty in the mundane, my work showcases my unique perspective and artistic vision.
