No products in the basket.
T-Shirt Guide
How to Tie Dye a Shirt: Easy Step-by-Step Guide for Beginner
A few months ago, I was staring at a pile of old, plain T-shirts, wondering how to give them a fresh, colorful makeover. That’s when I decided to learn how to tie dye a shirt. I had always admired the vibrant, swirling patterns of tie-dyed clothing but never thought I could make something like that myself. The problem was, if I didn’t figure out a creative way to repurpose these shirts, they would just sit in the back of my closet or end up being tossed out. Without learning how to tie dye, I knew I’d miss out on a fun and affordable way to create personalized clothing.
Materials Needed
What Starting Materials I Will Need?
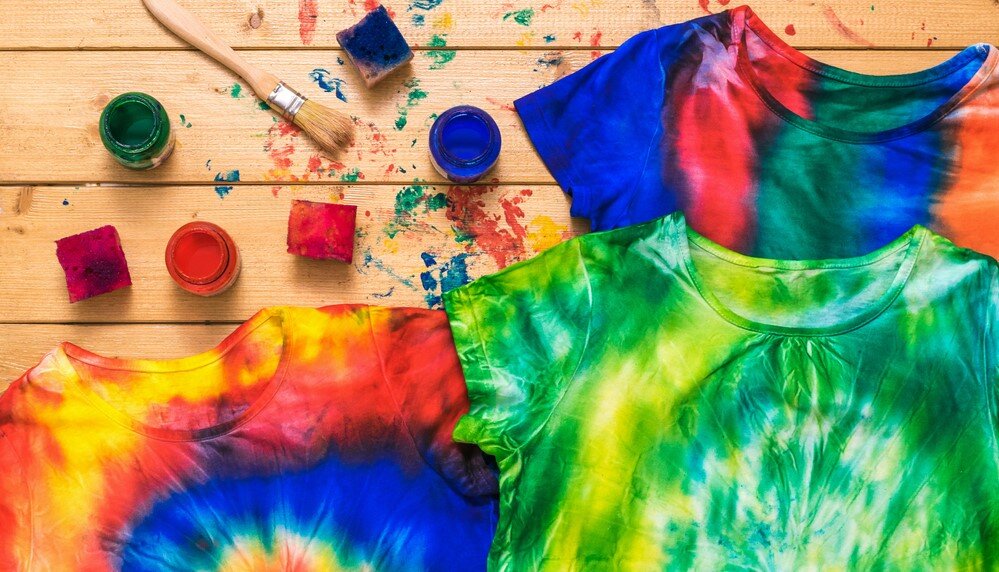
I soon discovered when I initially started learning how to tie dye a shirt that there are a few fundamental supplies you will need to compile. I applied the following:
- White cotton shirts (cotton absorbs dye the best)
- Tie-dye kits, which feature several color fabric dyes
- Rubber bands to produce those interesting designs
- Plastic squeeze bottles for dying applications
- Plastic gloves to guard from staining my hands
- Plastic bags for shirt wrapping during dye setting
- Old newspapers or a plastic table cover to guard the work space
Although you can purchase the supplies individually if you so choose, I discovered a tie-dye kit at my neighborhood craft store that had everything I needed.
Selecting The Correct Shirt
Regarding the shirt choice for tie dying, fabric counts. Based on some investigation, I found that cotton shirts keep vivid colors and absorb the dye uniformly, so they work the best. Synthetic mixes and polyester also lose the dye, hence your results will be uneven or faded.
I decided for my project on a 100% cotton T-shirt with nice but not overly thin fabric. I avoided shirts with any design or logo since I wanted the colors to really shine. Make sure it’s also made of cotton or another natural fabric if you want to tie dye anything else than a shirt, such a tote bag or pillowcase.
Prepping The Shirt
Washing The Shirt
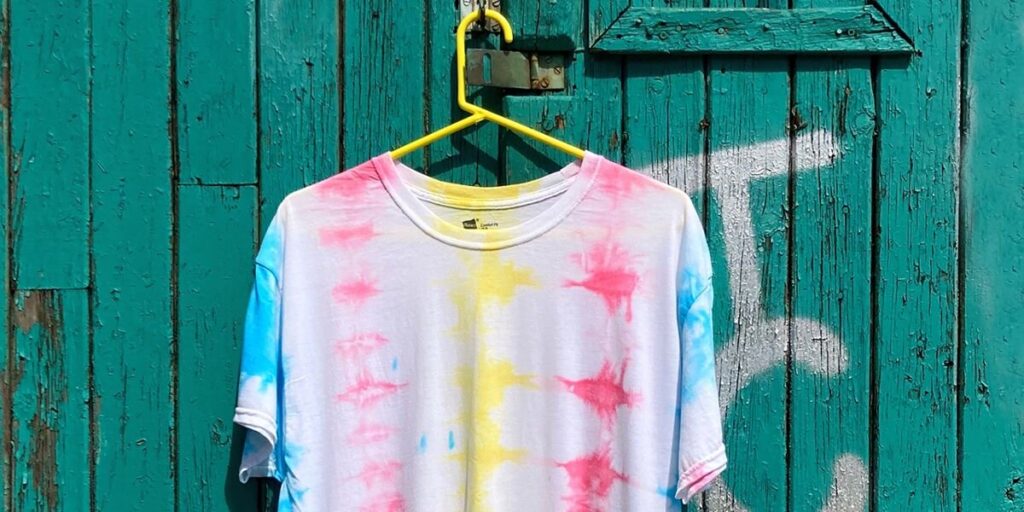
Before I could start tie dyeing, I learned that it’s really important to wash the shirt first. I had no idea, but it turns out that washing removes any dirt, oils, or chemicals left over from manufacturing. These can prevent the dye from fully absorbing into the fabric.
I just did a regular wash with no fabric softener (since that can also affect how the dye sticks). Skipping this step could mean dull colors or uneven patterns, so I didn’t want to take any chances!
Deciding On A Design
Selecting a tie-dye design to use proved to be one of the toughest tasks I had. Try the spiral, crumple, and bullseye among the many interesting techniques available. The bullseye produces a layered, circular pattern; the spiral design produces that traditional swirl of colors; the crumple is more random with loads of texture.
After some thought, I chose the spiral design since it is the most recognizable and I wanted to see those strong, whirling colors on my shirt. Plus, for my first try, it looked like an interesting challenge.
Step-By-Step Guide To Dye A Shirt
Step 1: Dying Preparation
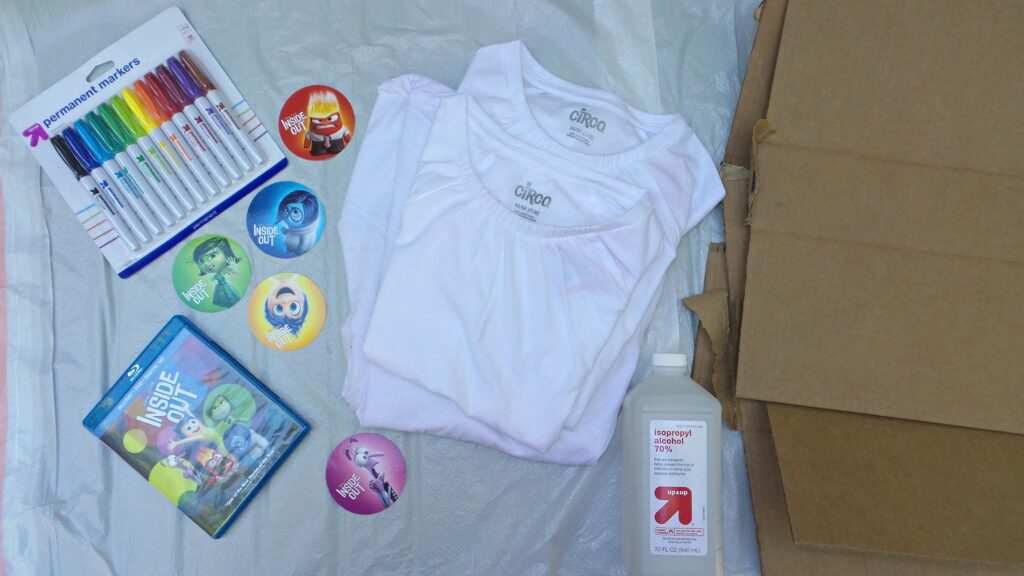
I initially set up my workplace and got ready the dye. To guard my table from any spills—trust me, dye can become messy—you should cover it with an old plastic tablecloth. Then, following directions on the kit—just adding water to the squeeze bottles and shaking them—I mixed the color. I kept all of my colors neat so they were simple to grab when it came time to apply them and wore gloves to prevent ruining my hands.
Step 2: Folding And Tying The Shirt
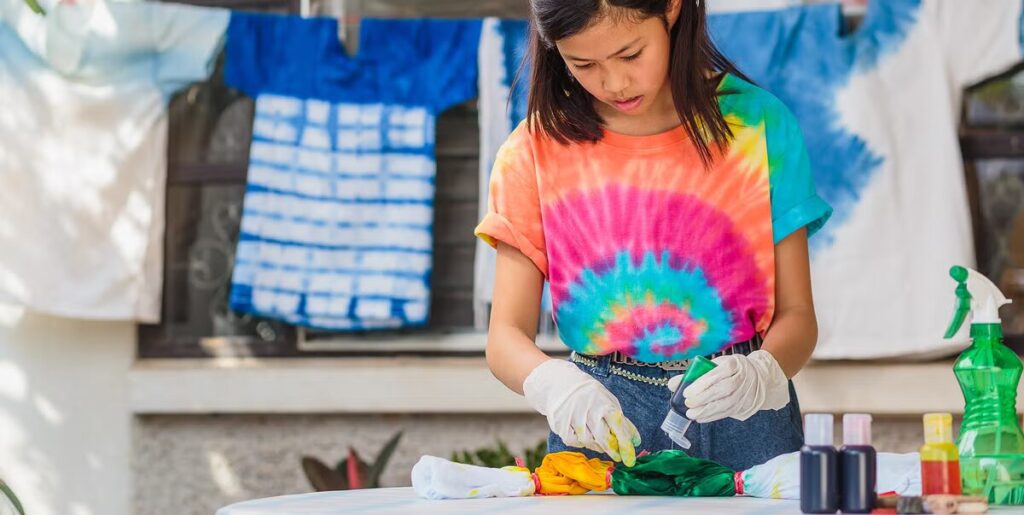
Having chosen a spiral pattern, I placed the shirt flat and pinched the middle where I intended the spiral to begin. I then spun the fabric in a circular manner until the shirt was tightly, flatly spiral. I then kept the shirt in place with rubber bands, forming a “X” pattern with them. This split the cloth in pieces that would assist me later on in color application. The rubber bands also enable the dye to penetrate only specific places, therefore producing that amazing spiral look.
Step 3: Dying The Fabric
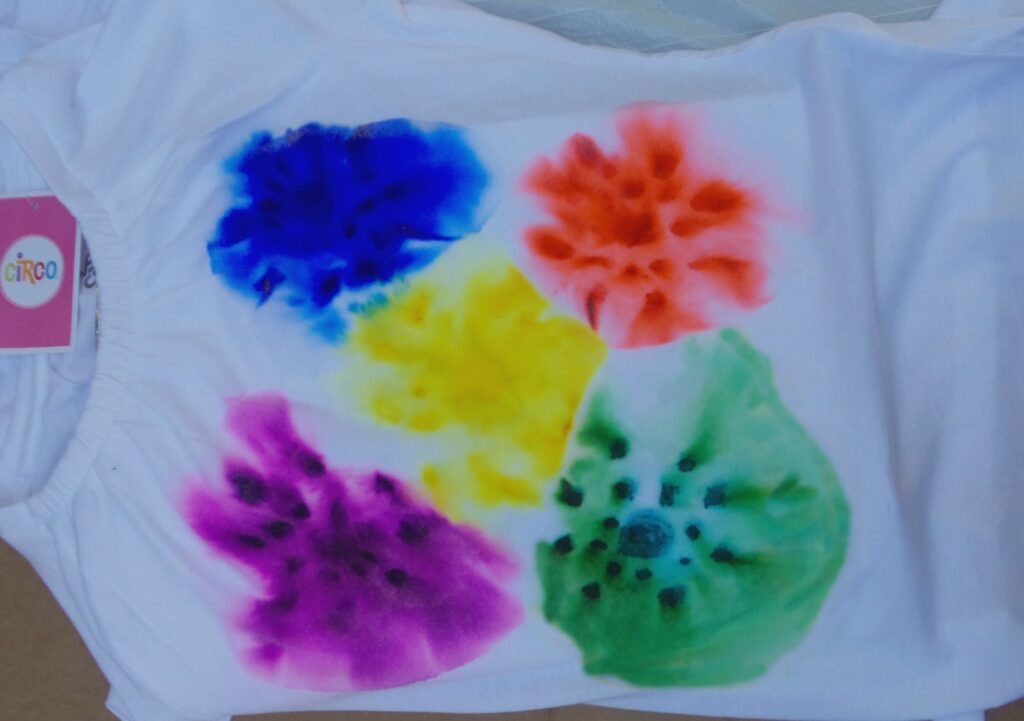
When it came time to apply the dye, I took great care putting one color to every region separating the rubber bands. I took care to fully squeeze the dye so it would pass through the cloth layers. Turning the shirt over and applying dye on the opposite side too helped me to guarantee a consistent color distribution. I also left some white area for contrast to really highlight the colors. Experimenting with several colors was enjoyable, and I even tried creating a seamless gradient by mixing two hues at the borders.
Letting The Dye Set
How Long To Let The Dye Sit
I wrapped the shirt with cellophane to keep it damp while the colors set after dying it. This section most certainly tried my endurance! Though the directions advised letting the garment sit for six to eight hours, I elected to let it overnight to guarantee the colors were vivid and completely absorbed. The longer the dye rests, the richer the colors will be, hence waiting is really important. After all that work, I wanted not to risk it; if I had rinsed it too quickly, the colors might have turned out dim or uneven!
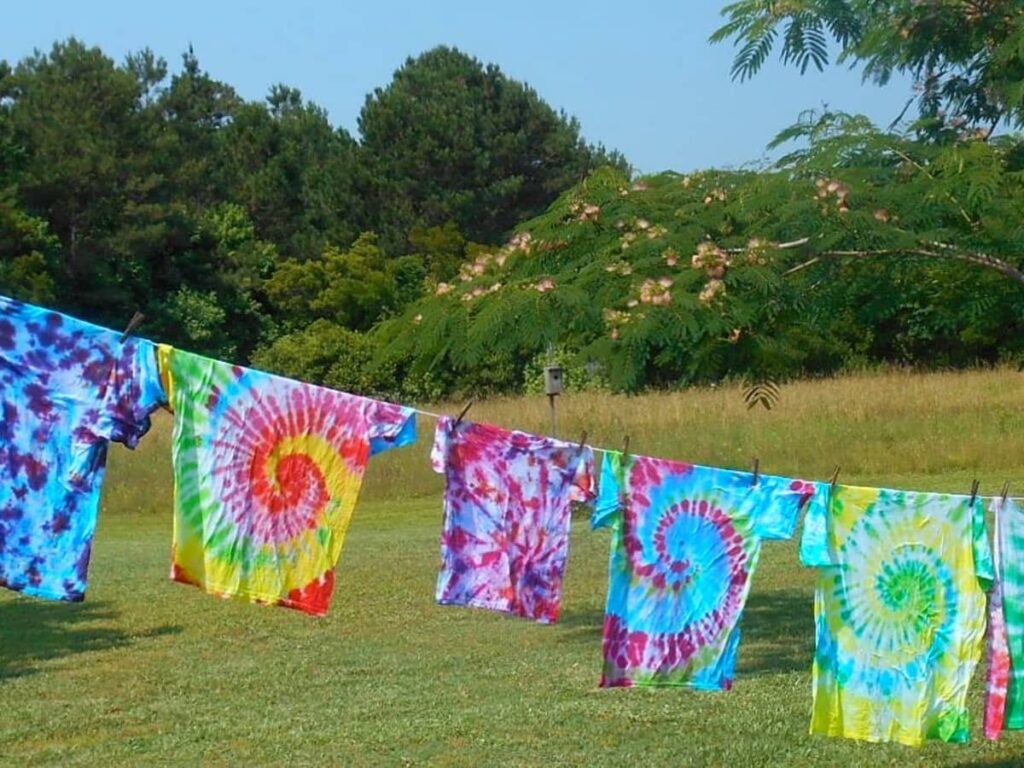
Rinsing And Washing The Shirt
Once the waiting was over, I carefully removed the rubber bands and rinsed the shirt under cold water. I made sure to do this in the sink, rinsing until the water ran mostly clear, which helps prevent the colors from bleeding into each other. Using cold water helps lock in the dye. After that, I washed the shirt in the washing machine by itself, again with cold water, to avoid any dye transfer. This step was super important to keep the colors as bold as possible!
FAQs About How To Tie Dye A Shirt
How Can I Avoid The Colors Bleeding Together?
Apply the dye gently and steer clear of oversaturating the fabric to help the colors not bleed. Rinse the clothing once the color sets also using cold water until the water runs clean. Separately washing the shirt in cold water for the first few washes will also assist to prevent bleeding and maintain color brightness.
Can I Tie-Dy Shirts Other Than White?
Although the outcomes will vary, you can tie dye colorful clothing. If you dye a light-colored shirt, like pastel pink or yellow, the dye will blend with the natural color to produce unusual, subdued tones. Unless you use especially colors designed for darker textiles, dark-colored shirts might not display the dye as brilliantly.
How Might I Extend The Lifetime Of The Colors?
Wash your tie-dyed shirt inside out in cold water using a mild detergent to help the colors hold. Steer clear of strong chemicals and bleach; if at all feasible line the garment. The colors will stay brilliant for more years the more delicate you are when washing.
Conclusion
Learning how to tie dye a shirt was such a fun and rewarding experience for me. It’s a simple, creative way to transform old clothing into something fresh and colorful. From choosing the right design to seeing the vibrant results, I found the whole process exciting and pretty straightforward. If you follow the steps carefully—especially with letting the dye set and rinsing properly—you’ll end up with a unique piece that’s totally your own.
If you’re more of a visual learner like I am, here’s a great tutorial that helped me along the way:

I am Estelle Krattinger, a multi-talented creative artist from Paris, France. Known for my captivating photography and enchanting storytelling, I have garnered a dedicated following on Instagram, where I share glimpses of my artistic journey and creative pursuits. With an impeccable eye for detail and a passion for exploring the beauty in the mundane, my work showcases my unique perspective and artistic vision.

Pingback: How To Create Personalized Fashion Statements For Any Occasion 2025 - Fashion Open Studio