No products in the basket.
T-Shirt Guide
How to Iron a Shirt: Step-by-Step Guide 2024
Ironing a shirt might seem straightforward, but I still remember how frustrating it felt when I first tried. No matter how careful I was, my shirts often came out wrinkled and messy. It left me feeling uneasy, especially before important events or meetings. That frustration pushed me to really learn how to iron a shirt properly. It wasn’t just about looking good—it was about feeling confident and making a solid impression, whether in personal or professional settings. If I hadn’t figured it out, those wrinkled shirts could’ve easily cost me both opportunities and self-assurance. In this guide, I’ll share the techniques and tips that transformed the way I iron, helping me get that perfectly crisp look every time.
Getting Started with Ironing Your Shirt
Before you begin ironing, it’s important to set yourself up for success. Start by making sure your shirt is clean and slightly damp, which helps remove wrinkles more easily. Set your iron to the correct temperature based on the fabric—high heat for cotton, lower for delicate fabrics like silk or polyester. Have your ironing board ready and ensure there’s enough space for smooth movements. These simple steps will make the entire process quicker and more effective.
Step 1: Preparing Your Shirt for Ironing
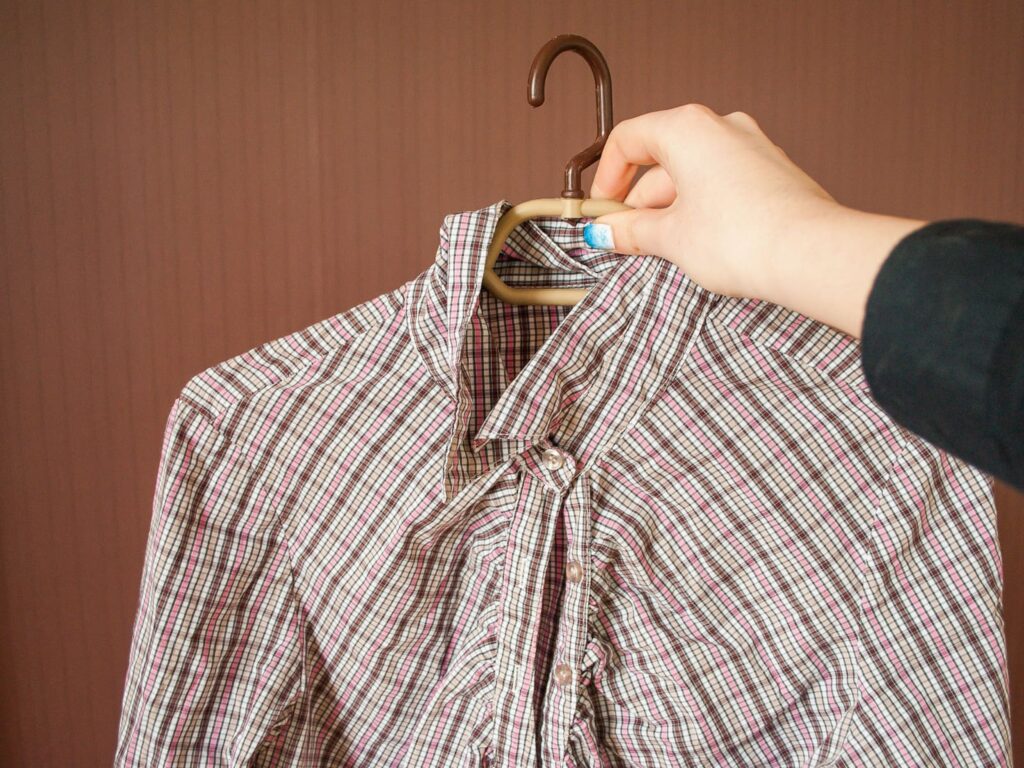
- Examine the care label: Look at the care label on the garment for particular ironing instructions before you start. This will reveal the perfect temperature and whether the shirt is ironable.
- Sort your shirts first: Sort your shirts according to the kind of fabric. Synthetic fabrics, cotton, linen, and other materials sometimes call for varying locations and approaches.
- Should stains exist on your clothing, address them before ironing. Using a stain remover, wash the garment following the care directions.
- Should the shirt be moist, hang it to air dry or lay it flat to prevent creases. To make ironing simpler, gently mist the shirt—completely dry—using a spray bottle with water.
- Straighten the fabric: Before you begin ironing, give the garment a little shake or run it between your hands to get any wrinkles out.
Step 2: Choosing the Right Ironing Board
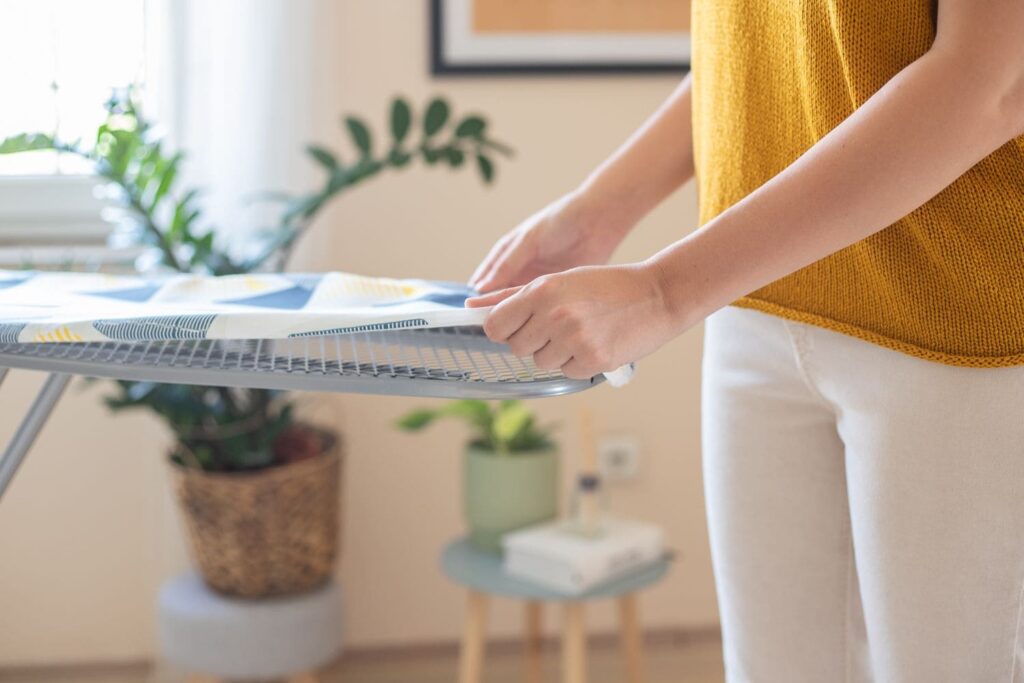
- Locate a stable surface: Arrange your ironing board on a level, stable surface. Make sure it’s movable so you may raise it to a comfortable level for ironing.
- Verify enough space: Arrange the ironing board in a well-lit place with enough room around it to move about free will. This reduces any inadvertent burns or missing areas.
- Examining the ironing board cover: Make sure the cover of your ironing board is suitable and clean. Better pressing results from a well-padded, smooth cover, which also helps to prevent dirt transfer onto your shirt.
Step 3: Selecting the Right Heat Setting
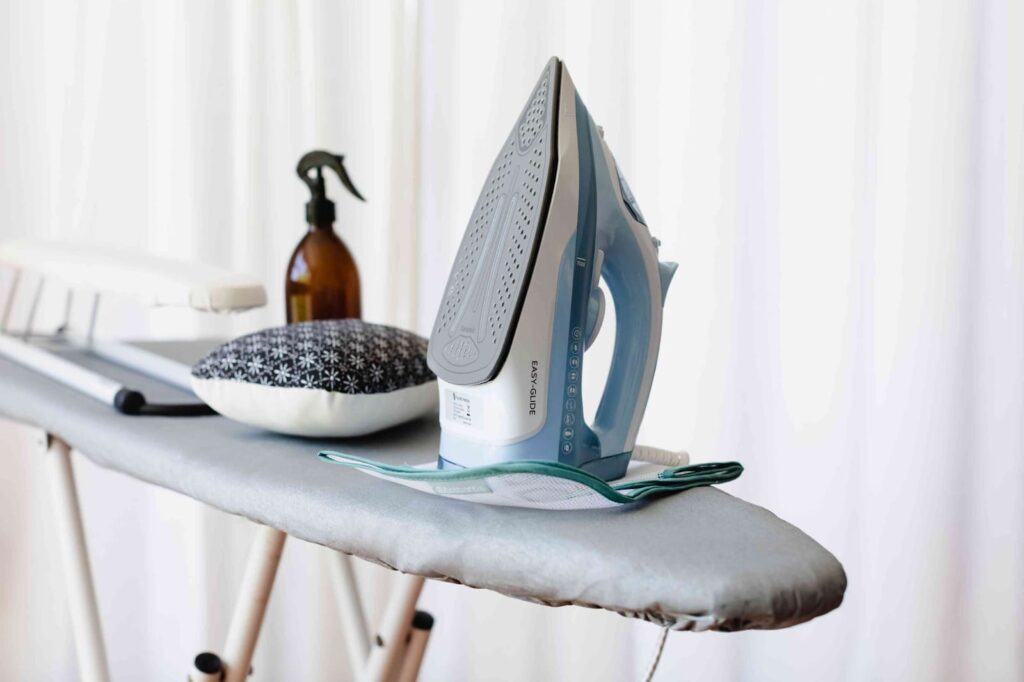
- Review the Care Label for the Shirt: Different fabrics call for different tempers. For instance, synthetics require a lower temperature, while cotton sometimes calls for a high heat setting.
- Turn the iron’s temperature dial: Set the iron for cotton shirts on high heat; for polyester or blended materials, use a medium or low setting.
- Let the iron run for a few minutes: Most irons feature an indication light that will switch off once the appropriate temperature is attained.
To make sure the iron is not too hot and won’t damage the shirt, test it on a small, inconspicuous section of it or on a scrap piece of cloth before beginning to iron it.
How to Ironing a Dress Shirt
Ironing a dress shirt can seem daunting, but with a few careful steps, I can achieve a crisp, professional look. Here’s a detailed guide to help me get the job done right.
Step 1: Preparing the Shirt and Iron
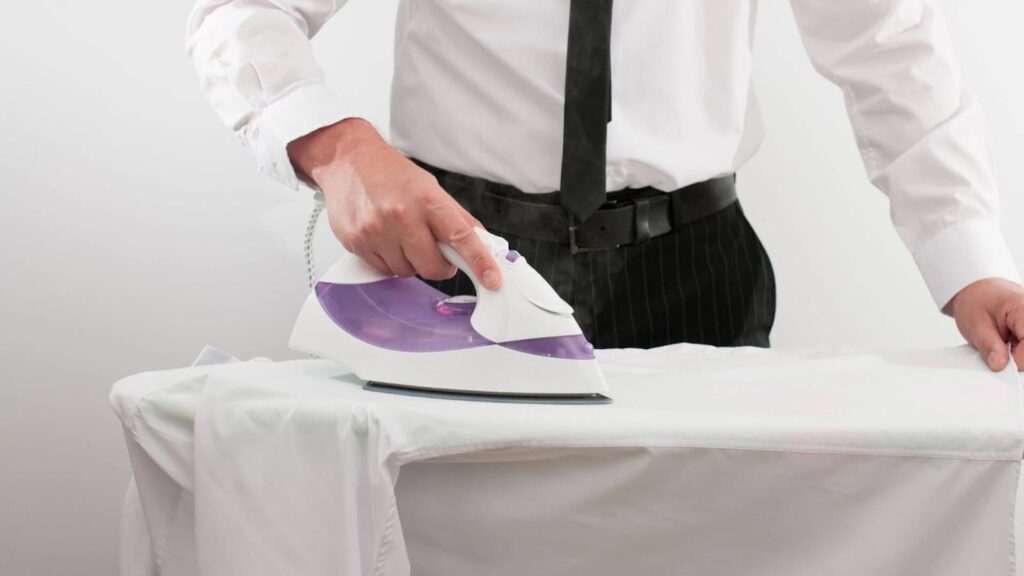
I make sure the shirt is clean and somewhat damp before I start ironing. While a wet shirt is simpler to deal with, an overly dry one might be difficult to iron. I also arranged my ironing board in a nice area with enough illumination. If the iron has a steam feature, I fill it with water and adjust the temperature to suit the fabric of my shirt.
Step 2: Tackling the Collar and Cuffs
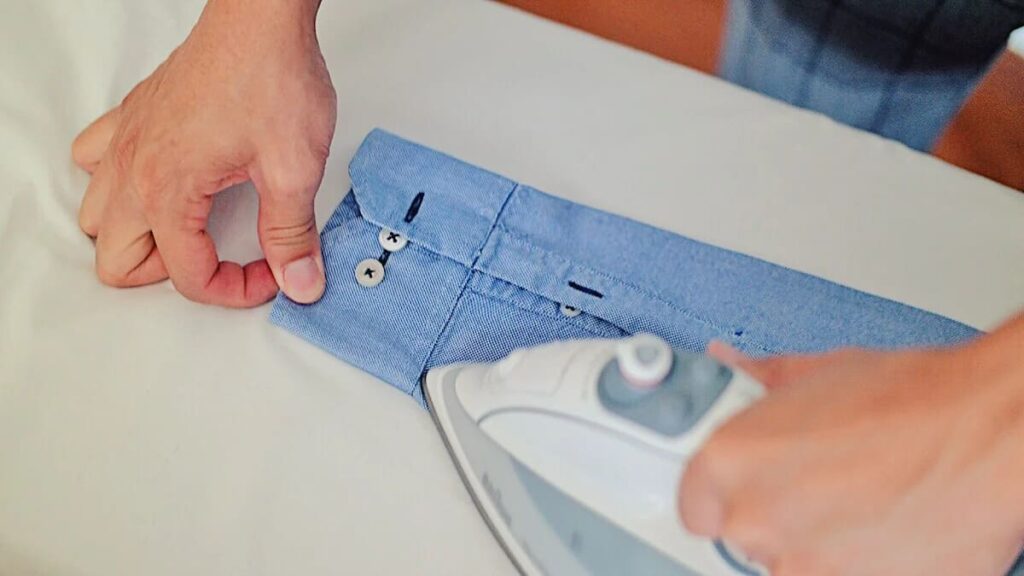
Collar:
- Starting with the collar, I set the scene for the body of the shirt. Making sure it isn’t bunched up, I lay the collar flat on the ironing board.
- Starting on the bottom of the collar, I work the iron from the center outward to avoid any creases. I next turn the collar over and iron the top side to help to flatten any wrinkles.
- I might make sure the collar edges are sharp and gently steam tough places that are challenging.
Cuffs:
- I unbutton the cuffs and lay them straight across the board. Should the cuffs feature a pleat, I make sure they are correctly positioned.
- Starting within the cuff, I work from the middle outward. I next flip the cuff and iron the outside side to be sure I avoid pressing in any fresh creases.
- I watch the area surrounding the buttons to prevent them from getting very heated.
Step 3: Perfecting the Shirt Front and Back Panels
I begin with the front of the garment. Starting with the region surrounding the buttons and working outward to prevent pushing in any fresh creases, I put one side flat on the board. I take great care in getting around the button placket.
I then go to the rear of the shirt. I lay it flat and iron from the top down so I cover the whole surface. If the fabric is delicate, I might use a pressing cloth. I look for any missing patches or wrinkles and iron those regions last pass.
How to Iron a Business Shirt
Get ready by doing prep work
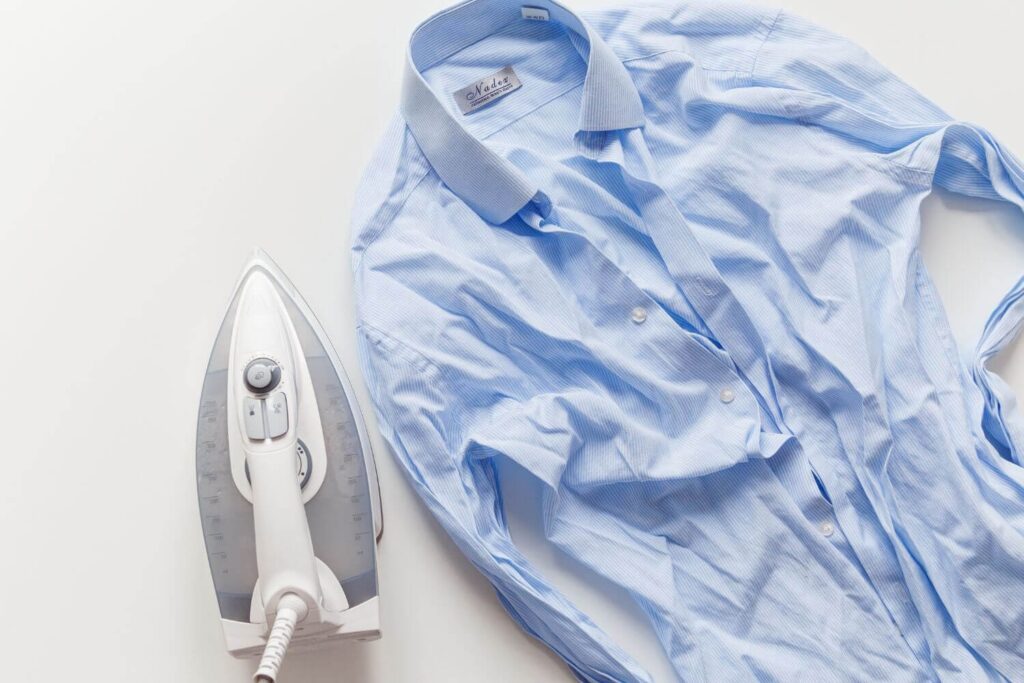
- I first make sure I have everything I need: an iron, an ironing board, and, if needed, a spray bottle containing additional moisture.
- To prevent burning or ruining the garment, I change the iron’s heat level depending on its fabric.
Tackling the Collar and Cuffs
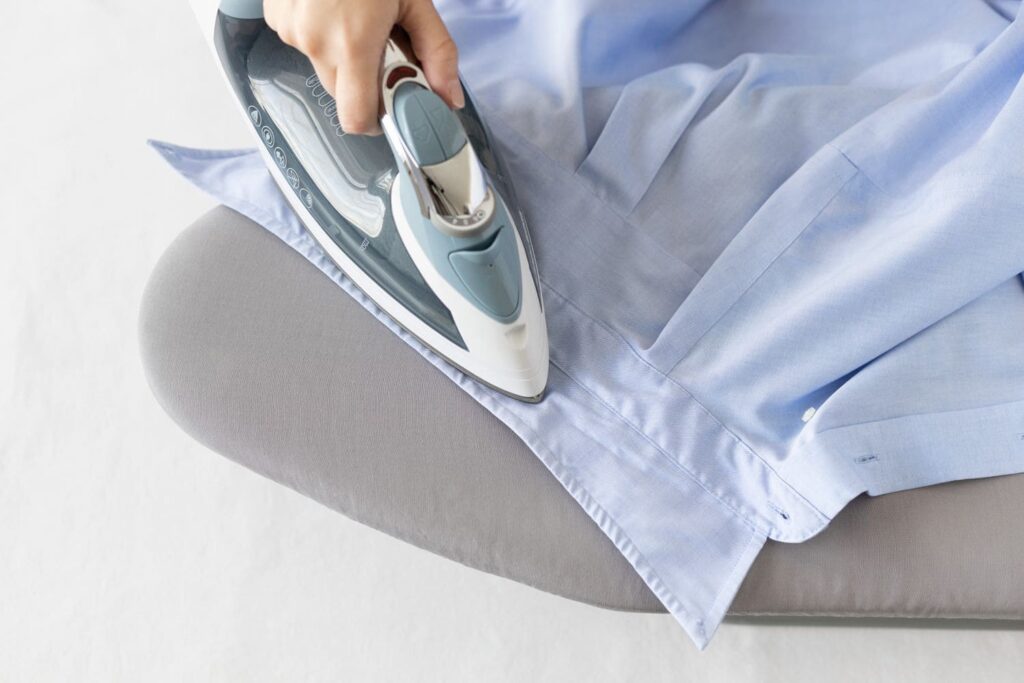
- Start with the collar, ironing the underside first to straighten any creases. I then turn it over and iron the top side for a crisp finish.
- Unbutton the cuffs and set them flat. First I iron the inside, then the outside, being sure everything is clean by gently working around the button locations.
Smooth Out the Sleeves
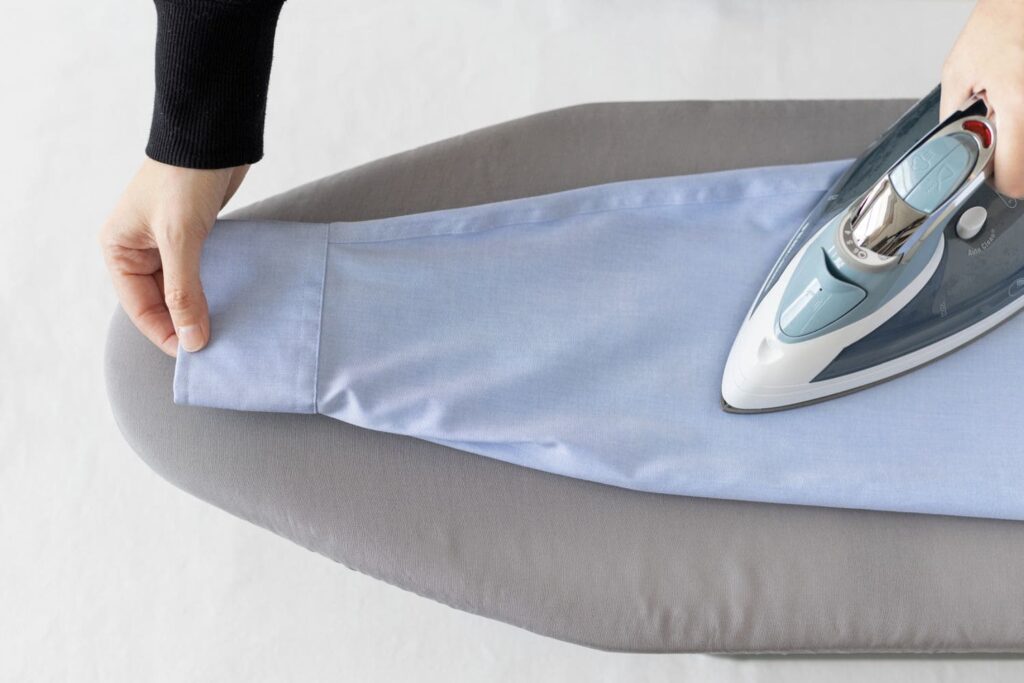
- Align and iron one sleeve straight on the board, seamwise. Keeping the fabric smooth, I then iron from the shoulder down to the cuff.
- Use the steam feature and a light iron rolling action to avoid new creases.
Perfecting the Body of the Shirt
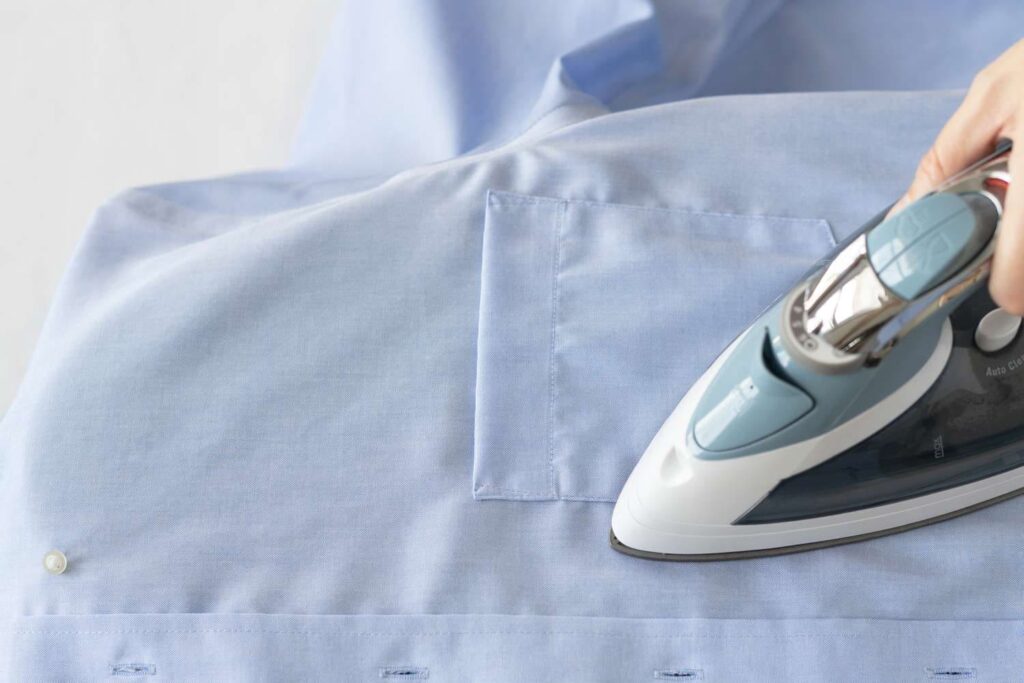
- Starting ironing the front of the shirt around the buttons, I work outward to smooth the fabric. I try especially not to press fresh wrinkles around the buttons.
- I iron from top to bottom after laying the back of the shirt straight out. I give those places a last review and closely search for any overlooked sites.
Simple tips to iron a button-up shirt
Set up your ironing space and shirt
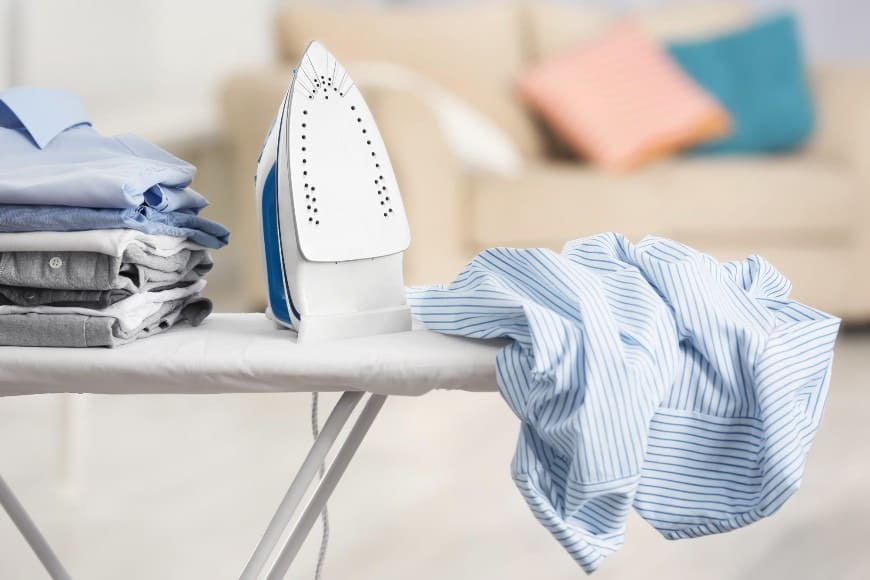
- Get ready by first ensuring my shirt is just slightly damp. Equipped with an ironing board and iron, I arranged my ironing space.
- To guarantee I get the greatest results without damaging the shirt, I change the iron’s temperature according to its fabric.
Work on the Sleeves
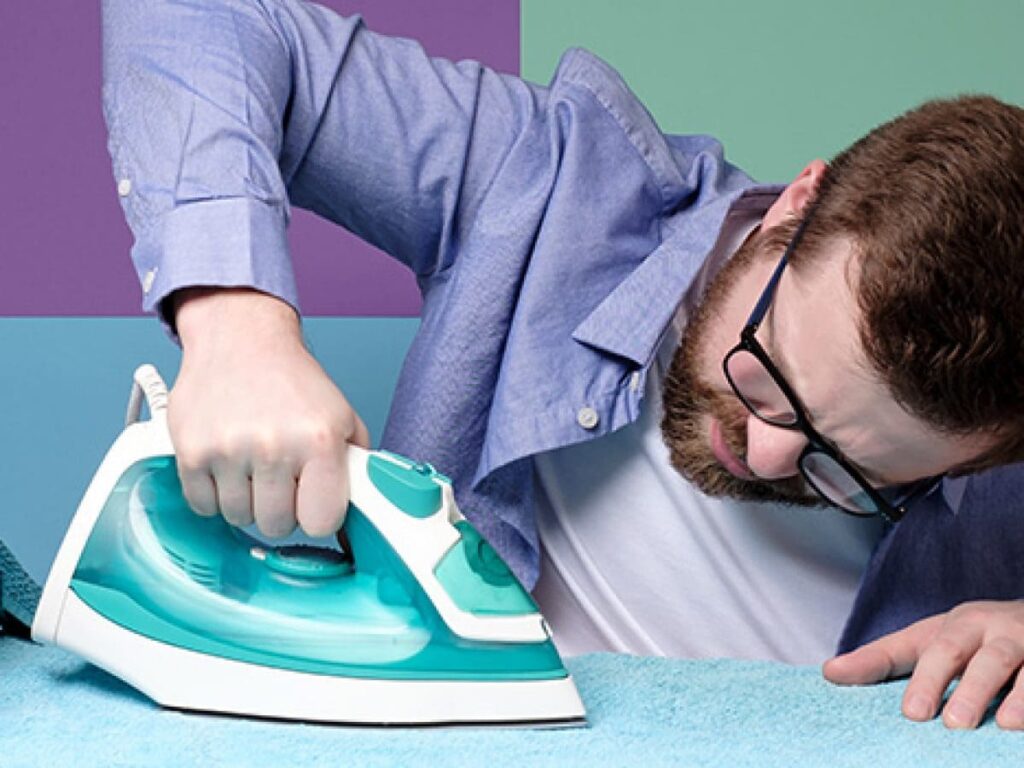
- One sleeve at a time, I lay flat on the ironing board ensuring it is level. I iron keeping the fabric smooth from the shoulder down to the cuff.
- Steam helps me to gently roll the iron in order to prevent fresh creases.
Finish with the Body of the Shirt
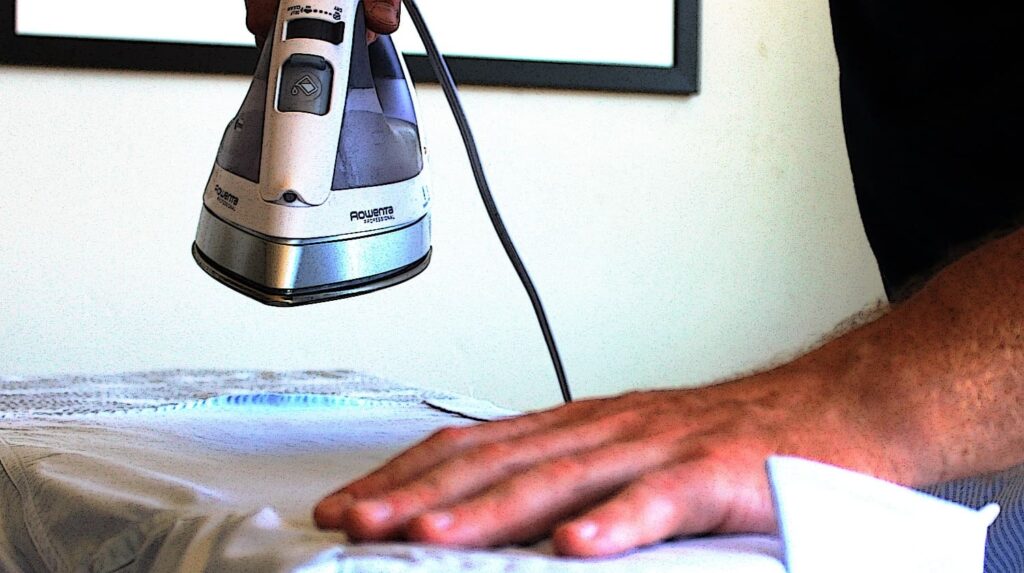
- Working outward to straighten any wrinkles, I iron the front of the shirt around the buttons.
- Laying the shirt’s back flat on the board, I iron from top to bottom, looking for any spots that might call for a touch-up.
Frequently Asked Questions on Shirt Ironing
How Best Should A Shirt Be Ready For Ironing?
A shirt should be just slightly moist before ironing it. Should it be dry, I can gently sprinkle it with water from a spray bottle. This lessens the work required to eliminate creases and helps the fabric to be more under control. Additionally, arrange the ironing board in a cozy, well-lit space and change the temperature of the iron depending on the kind of fabric of the shirt.
How Should I Avoid Ironing Fresh Creases?
If at all possible, I should steam the iron to avoid fresh creases and maintain constant, smooth motion of the iron. Ironing one part of the shirt at a time helps also and helps to prevent too forceful pushing down. A pressing cloth can also help to shield delicate fabrics from scorching or glossing.
For What Temperature Should I Set My Iron For Various Fabrics?
The kind of fabric will determine the temperature setting. I steam cotton shirts at a high heat setting. I lower the iron temperature and use less steam for synthetic materials like polyester. Wool or silk delicate textiles call for a low heat setting and usually benefit from avoiding direct iron contact by using a pressing cloth.
How Might I Iron Around Seams And Buttons Without Ruining Them?
I should be careful not to press straight on buttons and seams so as to iron around them. I carefully iron buttons, either using the tip of the iron or raising the fabric to prevent direct heat. I can softly press on seams without creating puckering, or use the iron’s edge to negotiate them.
Conclusion
Ironing a shirt might seem like a chore, but with the right approach, it can be a straightforward task that leaves your shirt looking crisp and polished. By preparing your shirt properly, adjusting your iron to the right settings, and following a systematic approach—starting with the collar and cuffs, moving to the sleeves, and finishing with the body of the shirt—you can achieve a professional finish with ease. Remember to use steam to help with stubborn wrinkles and to avoid pressing down too hard to prevent new creases.
For a visual guide that complements these tips, you might find this video. Happy ironing!

I am Estelle Krattinger, a multi-talented creative artist from Paris, France. Known for my captivating photography and enchanting storytelling, I have garnered a dedicated following on Instagram, where I share glimpses of my artistic journey and creative pursuits. With an impeccable eye for detail and a passion for exploring the beauty in the mundane, my work showcases my unique perspective and artistic vision.
