No products in the basket.
T-Shirt Guide
How To Draw A Shirt: Step-By-Step Guide For Beginners
As a budding artist, I frequently found myself annoyed when trying to sketch clothing—especially shirts. My clothes came out looking flat and dead no matter how much I tried. This battle not only slowed me down but also caused me to doubt my ability. I knew I had to learn how to draw a shirt if I was to improve my artwork. Without this fundamental ability, my drawings were lacking and I worried that as an artist I wouldn’t be taken seriously. Let those irritations inspire confidence and innovation.
Items Required
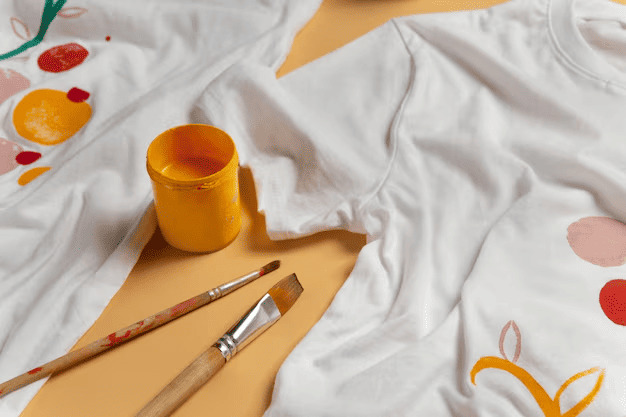
I soon discovered that having the correct tools greatly affected my improvement when I started trying to learn how to draw a shirt. I have broken out here what I thought was absolutely necessary.
Fundamentals For Drawing
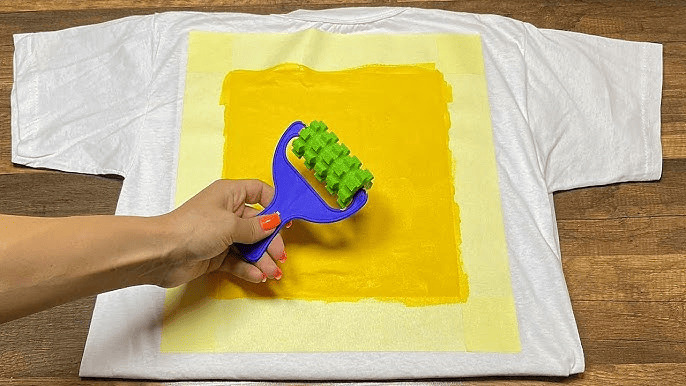
Pencil: From hard (H) to gentle (B) grades, I always carry a range of pencils ready. For first sketches, hard pencils provide light, delicate lines ideal for this. Conversely, softer pencils let me, when I’m honing my work, create darker, more emotive lines.
Erasers: I now know that a decent pencil is not nearly as vital as a good eraser. For its adaptability, I like a kneaded eraser; it can softly raise graphite without smearing my work. For more forceful repairs, a standard rubber eraser is also quite effective.
Originally using regular drawing paper: I finally switched to smoother bristol board. Particularly when I’m adding details, the solidity and texture of bristol board truly let my pencil work to shine. I usually use sketchbooks for practice to rapidly scribble down thoughts free from concern about perfection.
Additional Instruments
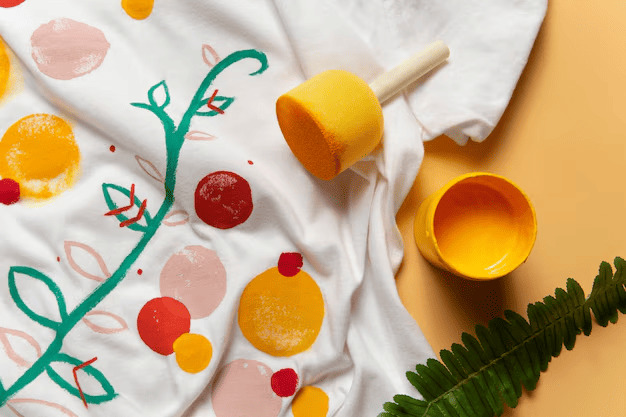
Once I’m sure my pencil drawing is good, I like running over my lines using pens or markers. For more forceful outlines, I use broad fine-tip markers; for minute details, I use finer ones. This gives my drawings more polished appearance and distinguishes them.
Pencils in Colours:
Color can make a basic shirt painting vivid and striking. I enjoy giving my shirts character and depth using colored pencils. They let one mix and layer, so improving the texture of the cloth.
Digital drawing tablet:
As I developed, I made investments in a digital drawing tablet. For me, this instrument unlocked a completely other universe of opportunities. Without the mess of conventional media, it lets one easily edit, layering, and experiment with colors without regard for Additionally fast testing several styles and strategies has helped me learn faster.
Step-By-Step Drawing Guide
When I started to sketch a shirt, I like to approach it methodically to keep me concentrated and orderly. I follow this exact method to make my shirt illustrations live.
Step 1: Drawing The Basic Outline
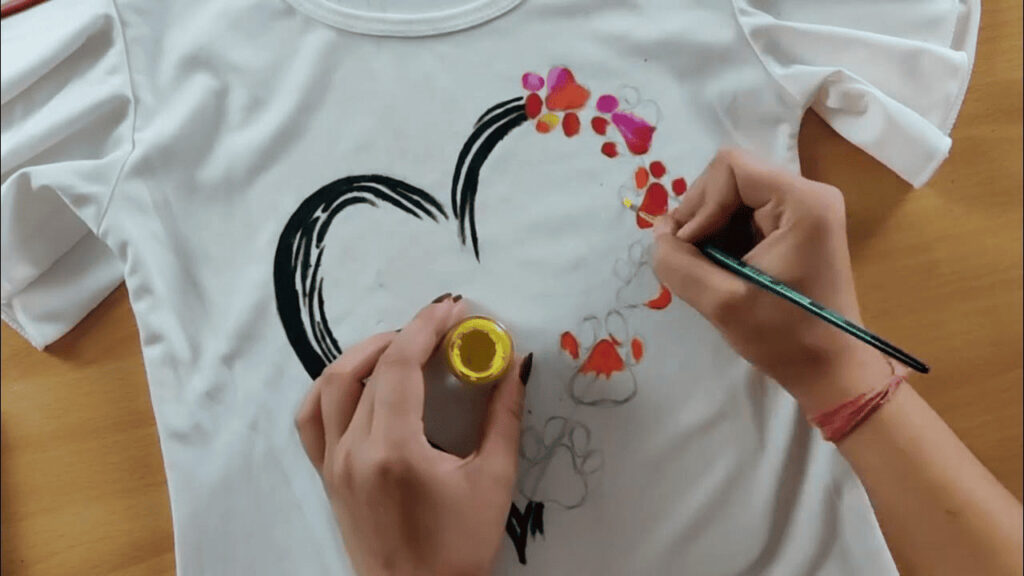
I usually begin with a light drawing of the fundamental outline to start things. I remind myself that simplicity is essential, hence my basis is usually simple forms. For the body of the shirt, I start with a rectangle, for instance. I next create two smaller rectangles or curves for the sleeves. This method lets me get the ratios correct without immediately feeling overburdened by specifics.
I keep light and free pencil strokes as I sketch. I can thus readily change and wipe as I go. Seeing the shirt from several angles also helps me to grasp how the form will appear in more dynamic terms. If I’m not confident about a line, I’m not slow to back off and check my proportions against reference photos or even a quick real-life view of a shirt I have close by.
Step 2: Include Features And Details
I start adding details after I’m happy with the fundamental outline. I actually start to having fun here! To provide the shirt character, I enjoy adding buttons, pockets, and collars.
Usually, I choose a style for the collar—that of a classic point collar or something more laid-back like a crew neck? I carefully consider how this lays on the neckline as I sketch. Pockets can provide interest, hence I usually arrange one on the left side and sketch a tiny rectangle with rounded sides. Regarding buttons, I prefer to add two or three down the front of a button-up shirt such that they are uniformly spaced for a neat appearance.
I focus especially on how every element interacts with the general form in this stage. To assist me see how the shirt is built, I often mark where the seams will go with light lines.
Step 3: Honing The Drawing
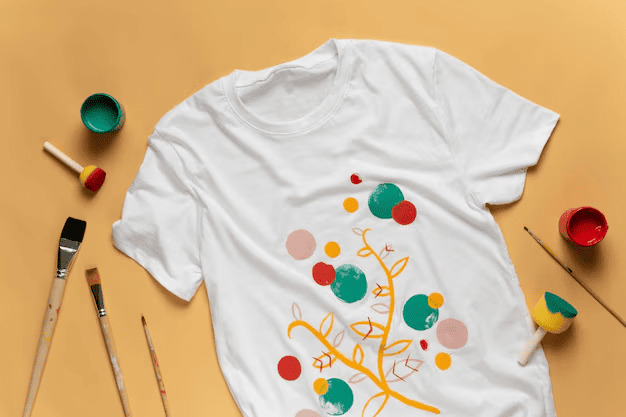
It is time for improvement after the elements are in place. Here is the stage where I concentrate on adding depth and clearing my lines. I first clarify the lines I wish to preserve by running over my light sketch with a darker pencil or ink. I make sure to remove any pointless rules or marks that have lost their use.
Then I consider texture and shadow. I search for places where shadows naturally fall—under the arms or along the sides of the shirt—to enhance depth. To add subdued shading that implies wrinkles in the fabric, therefore enhancing the realism of the shirt, I frequently use a softer pencil.
At last, I back off to assess my full output. I do any last tweaks to guarantee everything feels professional and coherent. Seeing the shirt evolve from a basic sketch into a detailed illustration is immensely gratifying.
Typical Errors To Prevent
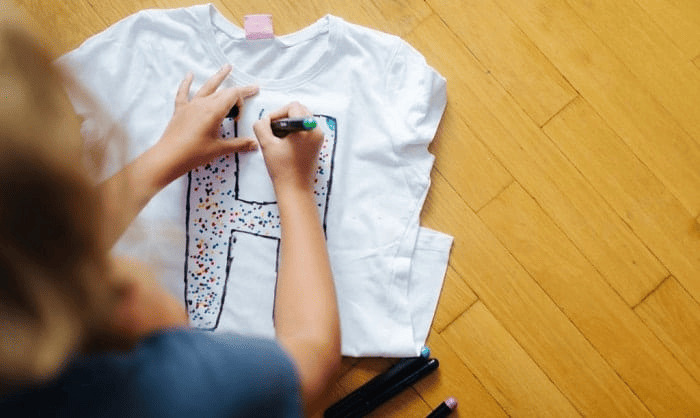
Drawing shirts has helped me to improve my technique; early on, I made a few typical errors that I learned to avoid greatly changed my artwork.
Overcomplicating Specifics
Initially, I would find myself adding too many details right quickly in search of instant improvement in my painting. Rather, it gave my drawings a disorganizing quality. I now know to start with the basic elements—like the outline and main components—then add minute details. This allows me to create a strong basis then add on the finer elements without getting overburdled.
Ignoring Ratios
I also used to undervalue the need of proportion. The neckline was too wide or the sleeves were too long, hence my shirts would look embarrassing. I now always makes sure everything looks balanced by measuring and contrasting the several shirt components against one another. This little change has really made my drawings seem more lifelike.
Neglecting The Sketch Period
Sometimes I bypassed the sketch process totally in my haste to reach the final drawing. This was a blunder! Starting with a light sketch lets me play with forms and layouts free from the strain of pledging to a final line. Spending that extra time at the start has prevented many hours of later on frustration.
FAQs About How To Draw A Shirt
Which Materials Would Be Ideal For Sketching A Shirt?
Drawing a shirt calls for beginning with simple tools including pencils, erasers, and premium drawing paper. Your work will improve with optional instruments such markers, colored pencils, or even a digital drawing tablet. The secret is to equip yourself with a range of instruments enabling experimentation and technique improvement.
How Can I Ensure My Clothing Seems Lifelike?
Emphasize proportions and details to get a reasonable appearance. Start with a light drawing of the main forms and then progressively add cuffs, sleeves, and a collar. Watch how cloth folds and drapes; shading can help to communicate depth. Understanding how various designs look in actual life can also be much aided by using reference photographs.
In Sketching Shirts, What Typical Errors Should I Avoid?
Among the typical errors to be aware of are overcomplicating elements too early, ignoring proportions, and bypassing the sketching stage. Before adding complex elements, take your time with the simple outline to guarantee everything is balanced. Beginning with a light sketch lets one easily make changes, hence producing a more finished final drawing.
Conclusion
Having negotiated the path of learning how to sketch a shirt, I have found that practice and patience are absolutely vital. Starting with simple forms, concentrating on proportions, and progressively adding features, I have been able to produce images that really reflect the core of several shirt styles. Recall that every artist begins somewhere; the key is to appreciate the process and grow from each effort.
I strongly advise reading over this useful tutorial if you are seeking more tools to improve your abilities:

I am Estelle Krattinger, a multi-talented creative artist from Paris, France. Known for my captivating photography and enchanting storytelling, I have garnered a dedicated following on Instagram, where I share glimpses of my artistic journey and creative pursuits. With an impeccable eye for detail and a passion for exploring the beauty in the mundane, my work showcases my unique perspective and artistic vision.
