No products in the basket.
T-Shirt Guide
How to Bleach a Shirt: A Step-by-Step Guide for Beginners
I soon discovered I had no knowledge how to properly bleach a shirt when I first tried to give an old one a new look. Though I didn’t want to throw it just yet, I had a plain white tee that was stained and beginning to seem a little boring. Though I wasn’t sure how much bleach to use or what methods would work best, I felt bleaching it would rejuvenate the cloth.
After a bit of research, I found that bleaching a shirt isn’t as simple as it sounds—it requires the right approach to avoid ruining the fabric or making the color uneven. If I hadn’t figured out how to bleach a shirt the right way, I could have ended up with a ruined tee or, worse, irreversible damage. Thankfully, after trial and error, I now know the perfect steps to get great results, and I’m excited to share them with you!
Gathering the Right Materials
Bleach: Which Type to Choose
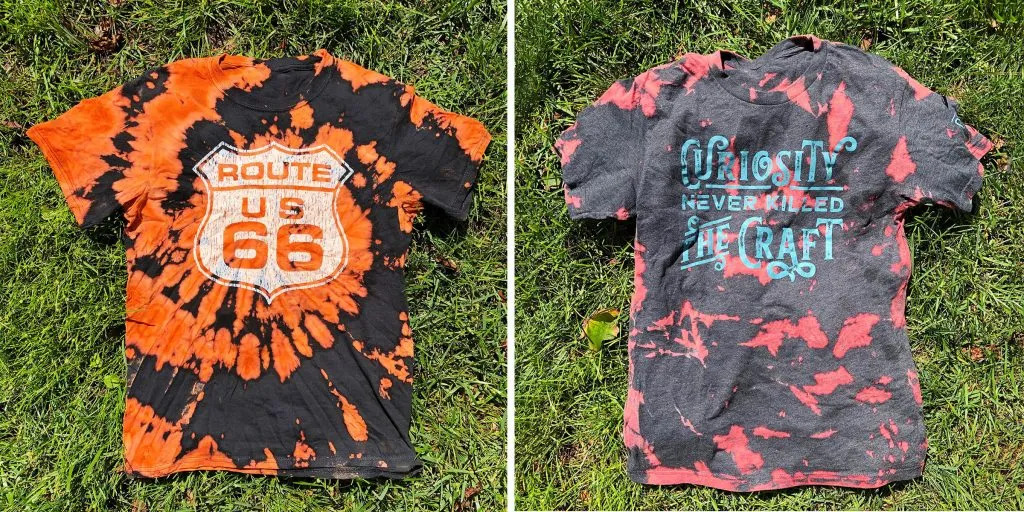
I soon came to see from researching how to bleach a shirt that not all bleach is the same. I mostly had two choices: oxygen bleach or standard chlorine bleach. Since chlorine bleach is strong and performs effectively in lightening white materials, I chose to use it. I used it carefully though, since I knew it may be harsh. If you’re bleaching colored clothes, oxygen bleach could also be a decent substitute since it’s milder and less prone to ruin the fabric. But with my white shirt, chlorine bleach worked well!
Additional Supplies I Needed
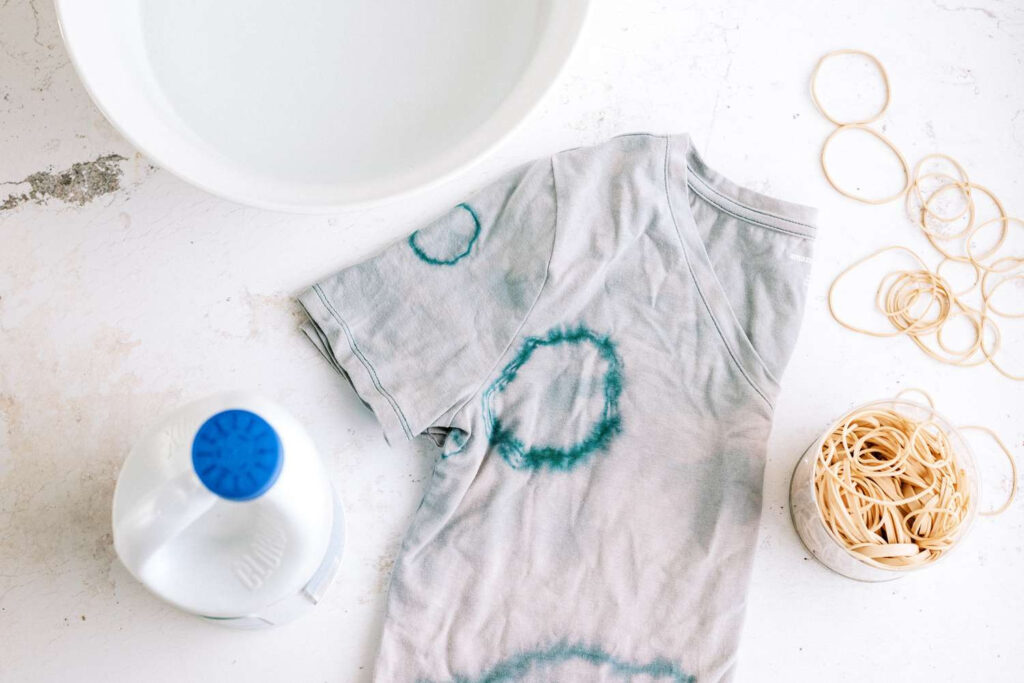
Apart from the bleach, I gathered a few other materials. I used a plastic container to mix the bleach solution and a pair of rubber gloves to protect my hands from the harsh chemicals. I also grabbed a plastic squeeze bottle to control where I applied the bleach, which helped me avoid accidental splashes. If you’re planning to tie-dye or do more intricate designs, some plastic wrap or rubber bands could be handy too.
Safety Gear: Why It’s Essential

Although cleaning a shirt seems simple, safety should always come first. I took care to dress in old clothes since bleach stains anything it comes into touch with. To prevent skin irritation, rubber gloves were absolutely essential; I also wore safety goggles to guard my eyes from any bleach splashes. To avoid breathing bleach fumes, I last worked in a well-ventilated area—ideally close to an open window. These steps guaranteed a flawless operation free from any unneeded mishaps!
Preparing the Shirt for Bleaching
Washing the Shirt Beforehand
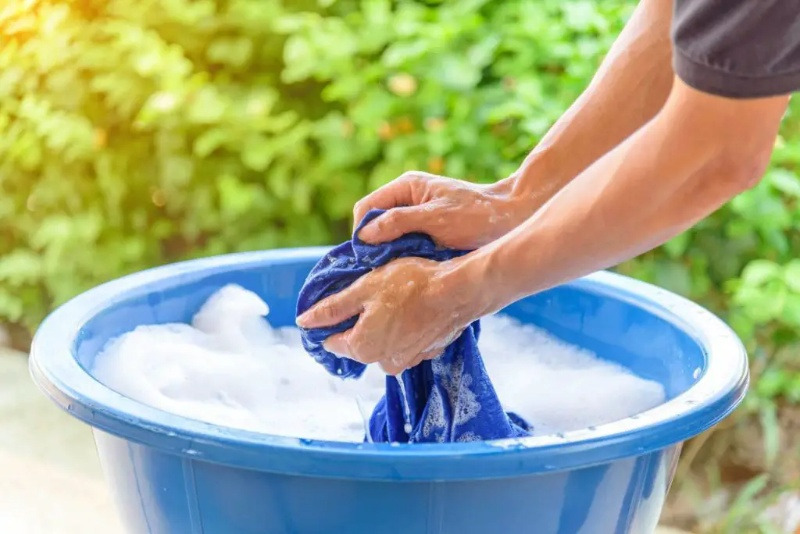
Before diving into the actual bleaching process, I made sure to wash the shirt first. This step helps remove any dirt, oils, or residues that could interfere with the bleach’s effectiveness. I didn’t use fabric softener or detergent with any strong scents, as those could also affect how the bleach reacts with the fabric. A clean shirt ensures that the bleach will absorb evenly, giving me a better result. Once washed, I made sure to dry the shirt completely, precisely the same as when you acid wash the shirt before starting the bleaching process.
Testing a Small Area for Colorfastness
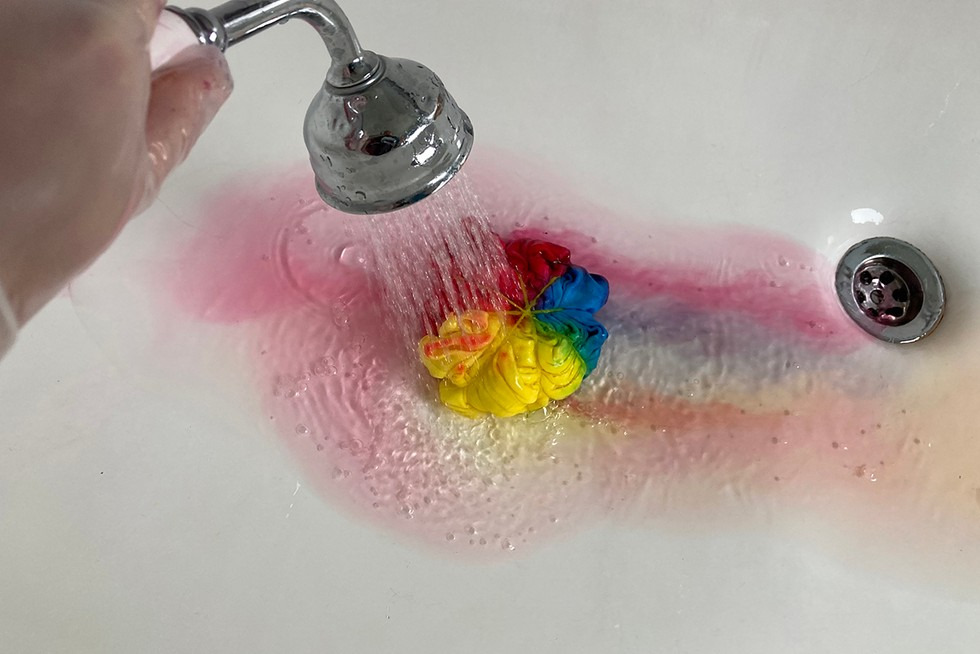
One thing I learned early on was to always test the bleach on a small, inconspicuous area of the shirt. Not all fabrics react the same way to bleach, and I didn’t want to risk ruining the whole shirt. I applied a small amount of diluted bleach to an area like the inside hem or a hidden corner and waited a few minutes to see how the fabric responded. If the fabric didn’t discolor or warp, I knew it was safe to proceed. This test saved me from making irreversible mistakes!
Choosing the Right Bleaching Area

I soon came to see that the location where one bleaches a shirt is crucial. I needed a space that was well-ventilated, so I worked near an open window to avoid breathing in the fumes. I placed down an old towel on a table to catch any extra bleach as a spotless, level surface was absolutely vital. Just in case any bleach leaked, I also put rags or paper towels on hand for a quick cleanup. I kept the mess under control by designating a bleaching area so that I may concentrate on the shirt free from distractions.
Step-by-Step Guide on How to Bleach a Shirt
Diluting the Bleach Solution
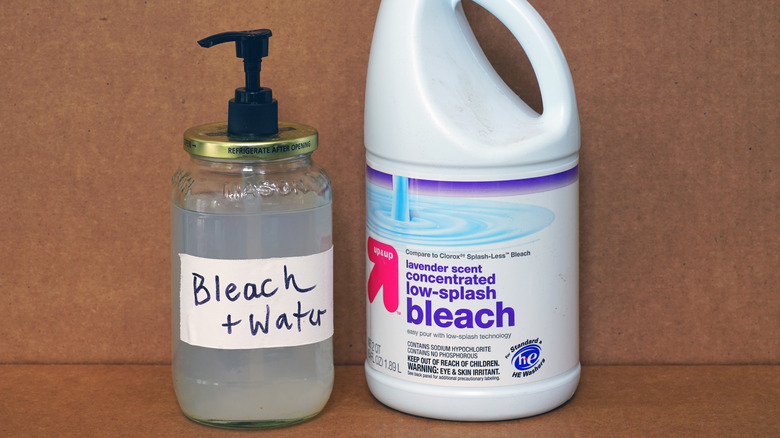
Diluting the bleach marked the first stage in the real bleaching process. Undiluted bleach could harm the cloth or produce strong effects, hence I wanted not to use it. I added one part bleach with five parts water for a basic solution. I measured closely and used a plastic container for this. I would cut the water somewhat if I needed a more strong bleaching impact, but this was my go-to ratio for a safe, controlled method. Unless you are trying for a super-lightened look or are dealing with extremely tenacious stains, it is advisable not to use too much bleach.
Applying the Bleach: Techniques I Used
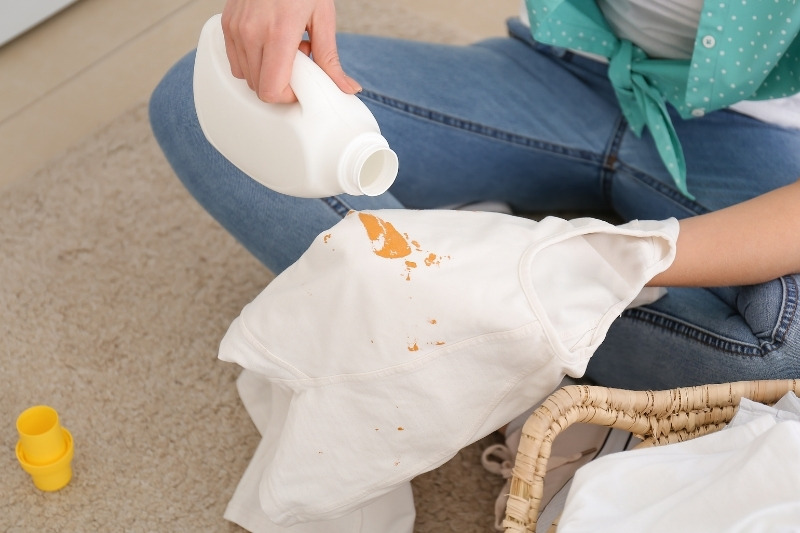
Regarding the bleach application, I paid great attention to my technique. Applying the solution straight to the fabric using a plastic squeeze container let me regulate where the bleach went. I moved gently, sweeping, for a more even outcome. I would splash the bleach on the shirt more haphazardly if I were trying for a tie-dye effect or random bleach patches. To prevent unequal discoloration, I made care to bleach both sides of the shirt. I kept it light and under control since it was imperative to prevent oversaturating the cloth.
How Long to Leave the Bleach On
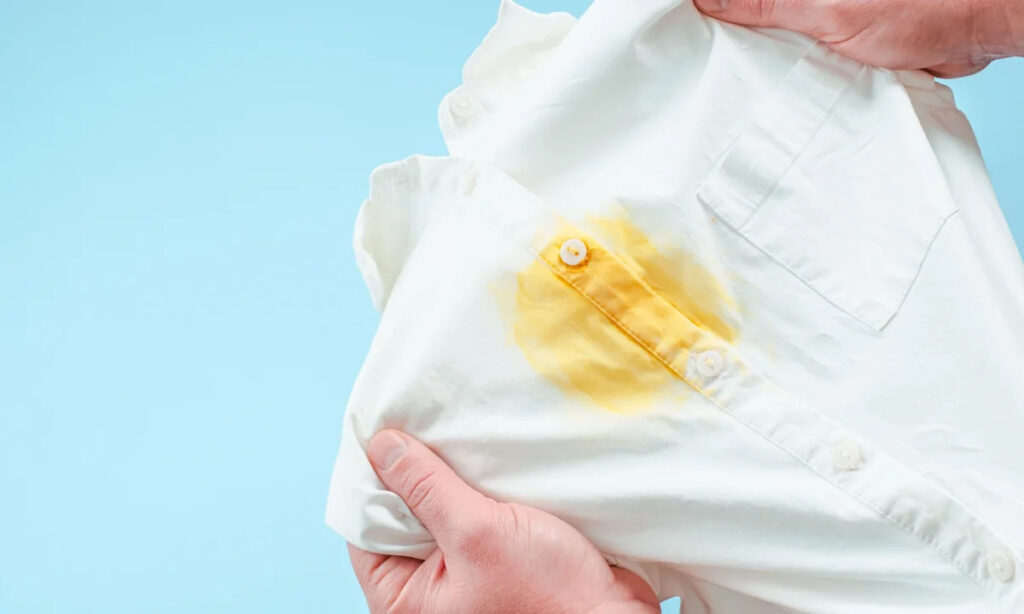
Bleaching a shirt calls for timing, hence I made cautious not to leave the bleach on for too long. I watched the garment and checked it every five minutes to see how the bleach was reacting. Usually, I let the bleach on for ten to fifteen minutes to have a modest bleaching effect. I let the more strong bleach sit for up to 30 minutes, but I never left it longer than that. The outcome is more extreme the longer the bleach rests; nevertheless, letting it too long could weaken the fabric. I hurried on to rinse the garment as soon as I got the intended hue.
FAQs About How To Bleach A Shirt
How Long Should I Leave Bleach On A Shirt?
How light you like the fabric to acquire will determine how long you should leave bleach on a garment. Usually, ten to fifteen minutes is plenty for a mild impact. If you want a more dramatic bleach look, leave it for up to half an hour. Check the shirt often to prevent over-bleaching; leaving it too long will harm the fabric.
Can I Bleach A Colored Shirt?
Although colored shirts can be bleached, you should be aware that the bleach might not perform as anticipated. Some colors may not lighten at all; bleaching colored fabric can cause uneven blotches or fading. Oxygen bleach is milder and less likely to damage the fabric than chlorine bleach, hence if you wish to bleach a colored shirt, think about using it.
What Do I Do If The Bleach Isn’t Working?
Should the bleach fail, it could be due to too much water in your solution or perhaps insufficient strength of the bleach for the fabric. Though you should be careful not to overdo it, try somewhat raising the bleach concentration. Furthermore, be sure you are using the appropriate kind of bleach for the fabric you are working on; oxygen bleach is milder on colors while chlorine bleach performs best on whites. Should the fabric not respond, it could just not be appropriate for bleaching.
Conclusion
Ultimately, understanding how to bleach a shirt opened my eyes and nowadays I can easily transform old clothes. I turned my used-out tees into fresh, distinctive designs by following the necessary procedures—selecting the right bleach, getting the garment ready, and applying the solution carefully. Whether you’re looking for a dramatic statement piece or a subdued fade, this is a basic yet powerful approach to revitalize old clothing. To guarantee excellent results, only keep in mind to exercise care by testing a tiny region and working in a safe surroundings. Here’s a useful YouTube video on bleaching shirts if you like a visual guide:

I am Estelle Krattinger, a multi-talented creative artist from Paris, France. Known for my captivating photography and enchanting storytelling, I have garnered a dedicated following on Instagram, where I share glimpses of my artistic journey and creative pursuits. With an impeccable eye for detail and a passion for exploring the beauty in the mundane, my work showcases my unique perspective and artistic vision.
